Modifying the MXL 991

Modifying the MXL 991 Capsule.
Wednesday, December 5, 2012
MXL’s 991 small pencil condenser microphone is sold as a set with the 990 at Guitar Center and Musician’s Friend. It has a 22mm OD capsule, about 3/4”, with a wide cardioid pattern. The capsule is sometimes said to be inspired by the Neumann KM84, but it is not a copy. Still, it is a good sounding mic with a few shortcomings which can be improved upon. A big doff of the hat to Michael Joly (Octavamod.com) and others at Gearslutz and RecordingHacks.com for inspiration.
The first and easiest fix is to replace the ceramic capacitor which couples the capsule to the FET input of the amplifier. Ceramic capacitors are themselves microphonic and are not especially linear. A 0.001uF/100V styrene or other film capacitor is a better choice, and is easy to swap in if you can wield a soldering iron. There are two other ceramic capacitors in the signal path, though not as critical as the input. They are also larger, and finding a film type of the right value small enough to fit into the slim mic body can be difficult. Capacitor replacement is covered in another post.
As for the microphone capsule itself, it is a little bright on the extreme top. Comparing with the KM84, a famously flat capsule, a couple of differences are evident. The Neumann has its diaphragm right up at the front, and the rim of the capsule is beveled to reduce refraction. The MXL diaphragm is set back inside to allow the screen and its clamp ring to be easily manufactured and assembled. This little cavity in front of the mic detracts from an open, natural sound. The KM84 has larger vents behind the capsule. MXL’s vents are smaller, forming a cavity whose resonance boosts high frequencies, similar to Neumann’s method to brighten the KM184.
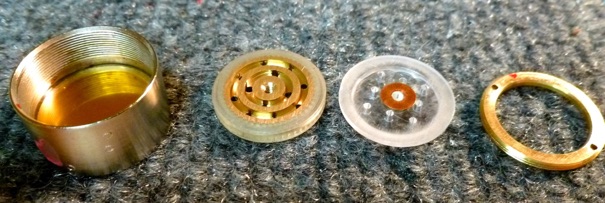
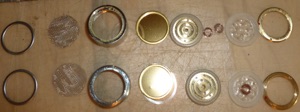
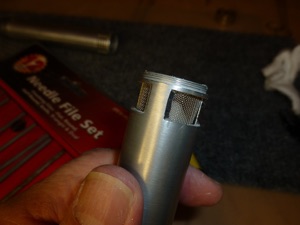
So, how do we modify the capsule? The capsule is made up of the diaphragm stretched over a ring, a backplate, spacers, acoustic delay plate, and a threaded ring which screws into the outer shell to clamp it all together. Unscrew the ring, and it looks like this:
Left to right, the shell with the diaphragm inside, and if you look closely there are two clear thin plastic film spacers at the outside. Next is the backplate, flipped over showing the side that faces the diaphragm. Next, a couple of small brass spacers on the center of the delay plate, and finally, the clamp ring. I had a hard time finding something small enough to fit the holes in the clamp ring. Regular snap ring pliers are too big. A pair of tweezers fit and worked for most of the capsules. One capsule was painted so tightly I had to drill the holes larger and use snap ring tools.
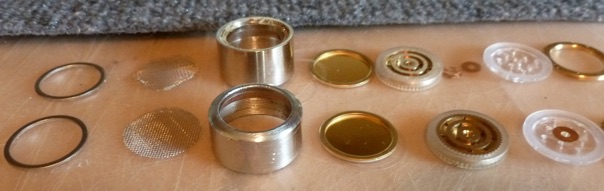
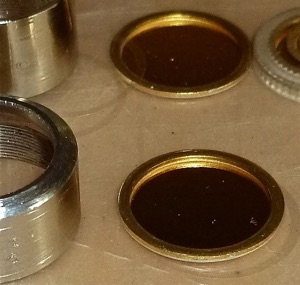
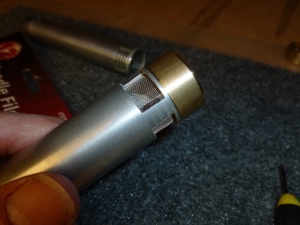
The grille screen and its holder ring are glued into the front of the shell and have to be pried out with something sharp. Here it’s all apart.
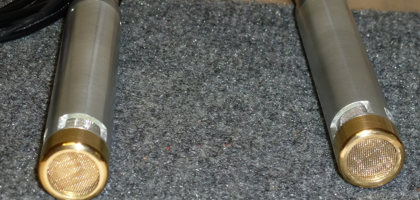
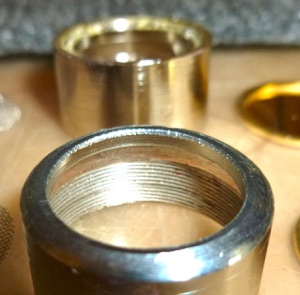
The rear housing is original. The one in front has had the part which held the screen filed off and the edge rounded, leaving a shallow shoulder to retain the works.
MXL’s 991 is also known as the 603. The model 551 appears very similar, as do other MXL pencil small condenser mics.
That completes the mods so far. The mics are flatter, more open and natural sounding. They are suited for string instruments, room mics, and vocals with a windscreen / pop screen. No, they don’t sound just like KM84s, but they are “84-ish”, excellent mics in their own right. See this post for frequency sweeps, but the main result of the electronic and acoustic mods is to give a more natural voice to these inexpensive mics. Sound sample here.
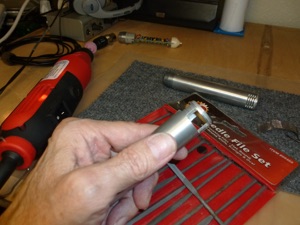
Next I opened the “gill slots”. Grinder & files.
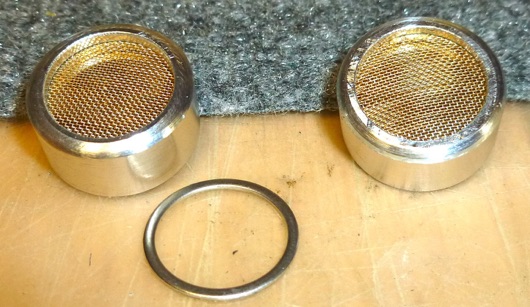
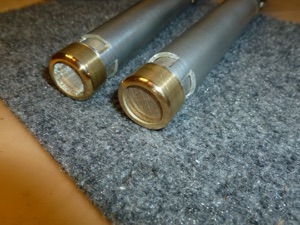
On reassembly, the screen is simply dropped in in front of the diaphragm. It’s not firmly glued in place, so you need to be careful not to poke at the mic in the future. While I had the mics apart, I stripped off the paint and polished the bodies with steel wool and paste wax. On reassembly my capsules look like this. 991 capsule (brass) on left, 990 (silver) on right.
Don’t lose those clear plastic spacer rings!
They fly away if you breathe hard.

